Speech-bubbles.
-
ManyWorlds

- Cartoon Hero
- Posts: 1980
- Joined: Wed Jun 30, 2004 4:32 am
Speech-bubbles.
Any advice on making decent-looking speech bubbles in Photoshop? I'm trying to figure out the layers and stuff...


-
Black Sparrow

- Cartoon Anti-Hero
- Posts: 6973
- Joined: Fri Jul 22, 2005 9:04 am
- Location: Violating your restraining order
- Contact:


You can add the tails with the polygonal lasso...
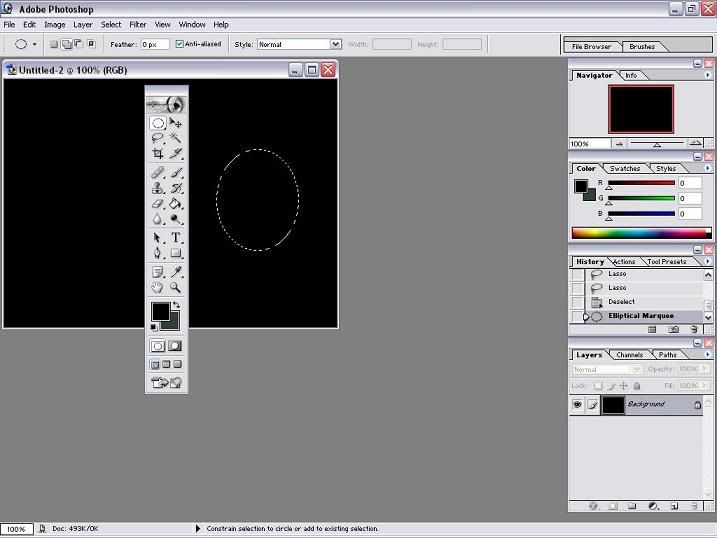
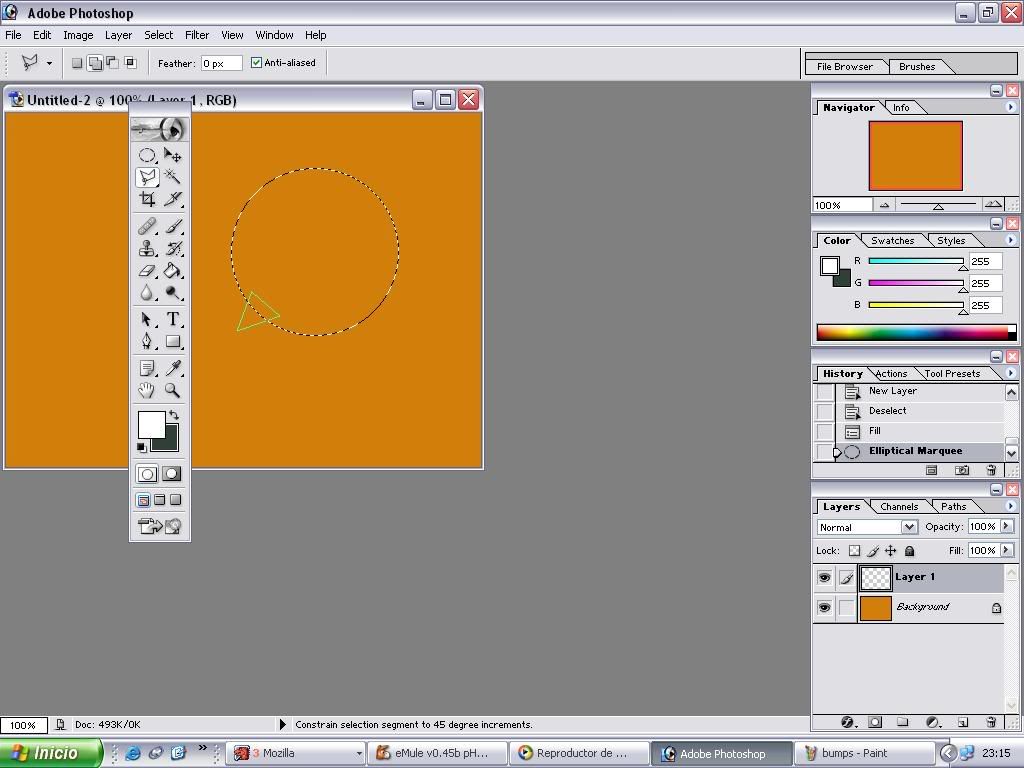
In a new layer, use the circular lasso to make the bubble
http://i4.photobucket.com/albums/y138/t ... rlasso.jpg
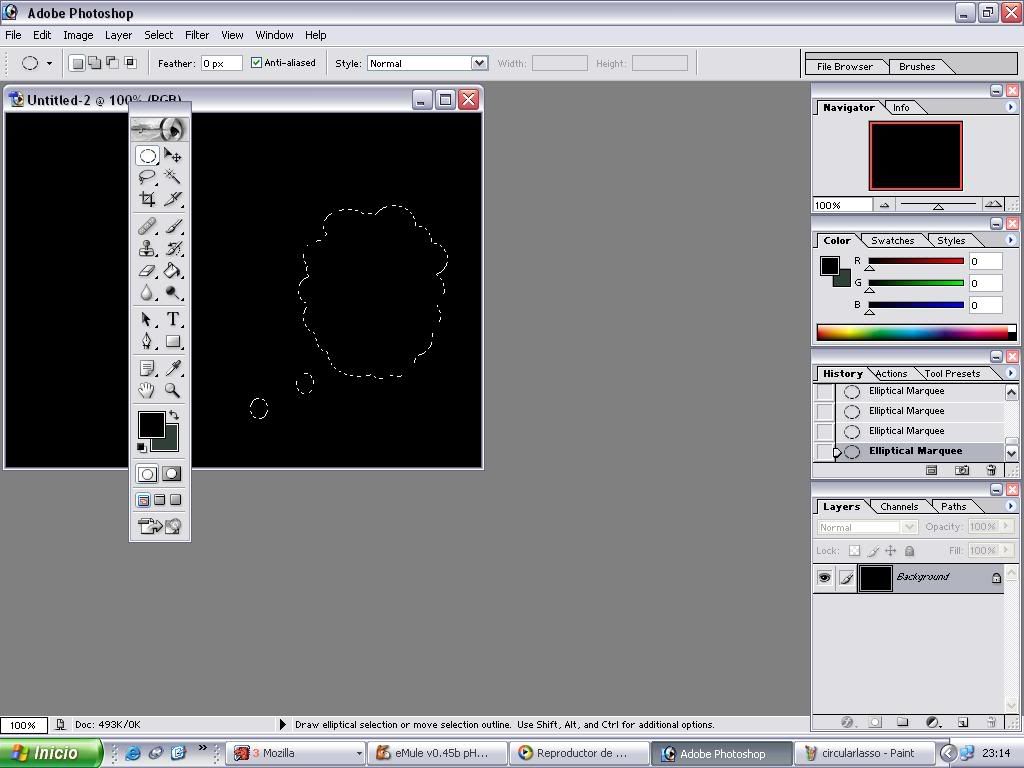
(if you want to make a thinking bubble with bumps, just add little circles with the same tool, pressing shift to add to the selected. A (+) sign appears next to the lasso sign).
http://i4.photobucket.com/albums/y138/t ... /bumps.jpg
Then use the polygonal lasso (adding by pressing shift, again) to make the tails.
http://i4.photobucket.com/albums/y138/t ... lassso.jpg
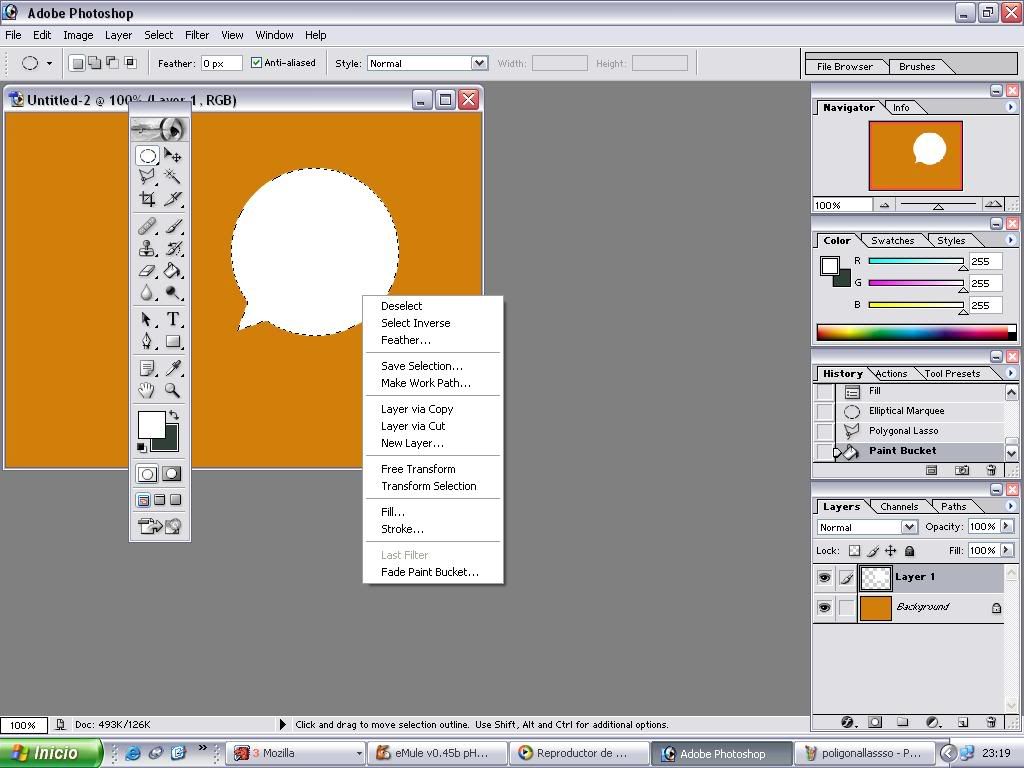
You will have a selected zone with the shape of the bubble. Now you will want to fill it. Edit--> fill---> foreground colour (it will fill the selected area with whatever colour you have selected). Or simply use the paint bucket.
Then, without deselecting, right click on the selection (you will have to choose a lasso first, doesn't matter which) -->stroke...-->(choose width and color here)-->ok.
http://i4.photobucket.com/albums/y138/t ... tclick.jpg
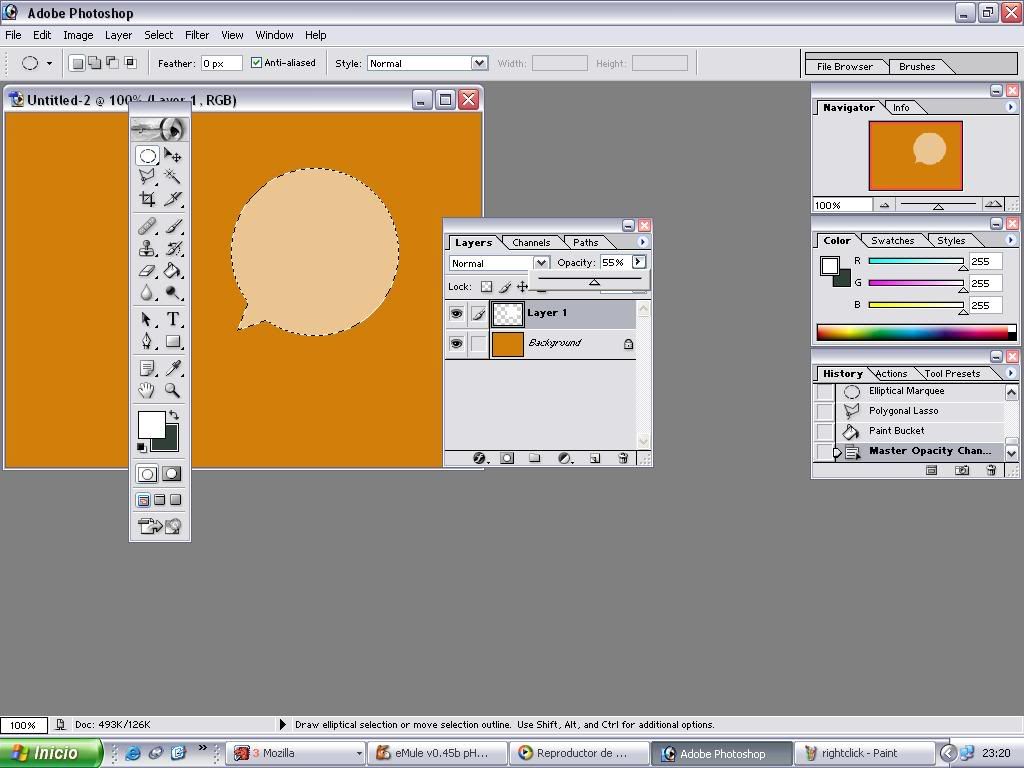
you are done! If you want transparent bubbles, just adjust the opacity of the layer by sliding the bar.
http://i4.photobucket.com/albums/y138/t ... pacity.jpg
In a new layer, use the circular lasso to make the bubble
http://i4.photobucket.com/albums/y138/t ... rlasso.jpg
(if you want to make a thinking bubble with bumps, just add little circles with the same tool, pressing shift to add to the selected. A (+) sign appears next to the lasso sign).
http://i4.photobucket.com/albums/y138/t ... /bumps.jpg
Then use the polygonal lasso (adding by pressing shift, again) to make the tails.
http://i4.photobucket.com/albums/y138/t ... lassso.jpg
You will have a selected zone with the shape of the bubble. Now you will want to fill it. Edit--> fill---> foreground colour (it will fill the selected area with whatever colour you have selected). Or simply use the paint bucket.
Then, without deselecting, right click on the selection (you will have to choose a lasso first, doesn't matter which) -->stroke...-->(choose width and color here)-->ok.
http://i4.photobucket.com/albums/y138/t ... tclick.jpg
you are done! If you want transparent bubbles, just adjust the opacity of the layer by sliding the bar.
http://i4.photobucket.com/albums/y138/t ... pacity.jpg

-
Keffria

- The Wimpy Teaching Assistant (Mod)
")
- Posts: 3748
- Joined: Tue Jun 17, 2003 12:07 pm
- Location: not-France
I find the easiest thing to do is create a layer called "textballoons" or something above all your drawing layers but below your text. Set the blending mode to "stroke": Layer > Layer Style > Blending Options (or just right-click the layer in question in the "Layers" window and hit "Blending Options") and check the "Stroke" box at the bottom of the "Styles" panel on the left. I usually set the size to 1 pixel and the position to "inside".
Oh, and here's the dialogue box, as I tend to be wordy and confusing:
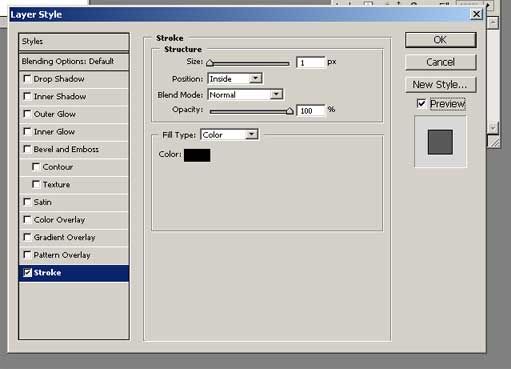
From there, all you have to do is make a circle, square, text balloon, etc., etc., with one of the marquee/lasso tools; hit Edit > Fill and fill it in with the desired colour, and *voila!* Photoshop does the stroke for you.
This way, the edges of your text balloons blend in nicely with the layers beneath them. Plus, as you can see in the screenshot, there are all sorts of other spiffy effects you can use that will ultimately detract from your art by emphasizing the text balloons too much (so don't use them ).
).
(I need to update my comic-making tutorial... I still have the old, inefficient way of making speech bubbles posted on it...)
Oh, and here's the dialogue box, as I tend to be wordy and confusing:
From there, all you have to do is make a circle, square, text balloon, etc., etc., with one of the marquee/lasso tools; hit Edit > Fill and fill it in with the desired colour, and *voila!* Photoshop does the stroke for you.
This way, the edges of your text balloons blend in nicely with the layers beneath them. Plus, as you can see in the screenshot, there are all sorts of other spiffy effects you can use that will ultimately detract from your art by emphasizing the text balloons too much (so don't use them
(I need to update my comic-making tutorial... I still have the old, inefficient way of making speech bubbles posted on it...)
-
Joel Fagin

- nothos adrisor (GTC)
- Posts: 6014
- Joined: Mon Mar 29, 2004 1:15 am
- Location: City of Lights
- Contact:

-
LibertyCabbage
- Cartoon Hero
- Posts: 4667
- Joined: Tue Jan 25, 2005 4:08 pm
- Location: bat country
- Contact:
I posted this in another thread recently so here it is again:
Here's a simple guide on doing speech bubbles in photoshop:
1) Use the Marquee tool to make the bubble. Use rectanglular marquee for a rectangle or elliptical for an oval. If you want a weird shape, make the bubble with the Lasso tool.
2) Draw the bubble around the text.
3) Under the Marquee tool is the Lasso tool. If you want to have a curved tail, pick Lasso. If you want to have a straight tail, choose Polygonal Lasso.
4) Hold shift and make the tail of the bubble which is a general triangle shape. When you complete the triangle the curser should turn into a circle. Click then and the bubble and tail will become one object.
5) If there's anything inside the bubble besides the text, use the Paint tool and set its color to white (the color box below the toolbar) and fill in the bubble until it's all white.
6) Go to Select -> Modify -> Border
7) Set the width of the border around the bubble. I use 2.
Select the color you want the border to be (usually black but it can be anything) and use the paint tool to click on the thin border around the speech bubble. if you do it right the border will be the color you chose
9) click the marquee tool again and click anywhere on the picture to deselect your bubble.
10) It's done!


"Seems like the only comics that would be good to this person are super action crazy lines, mega poses!"


-
ManyWorlds
- Cartoon Hero
- Posts: 1980
- Joined: Wed Jun 30, 2004 4:32 am
-
MadTarnsman

- Newbie
- Posts: 21
- Joined: Thu Sep 01, 2005 5:18 pm
- Location: St. Charles, MO
Here Ya Go....
This works with PhotoShop or the Paint utility that's on all computers. I'm very old school but this works for me.
http://www.balloontales.com/tips/lettering/balloon/
The important thing I learned is to use 'comic sans' font and set white bucket fill as a transparency. I'm a total dolt and I figured it out in a couple hours just dickin' around.
http://www.balloontales.com/tips/lettering/balloon/
The important thing I learned is to use 'comic sans' font and set white bucket fill as a transparency. I'm a total dolt and I figured it out in a couple hours just dickin' around.
Life comes at ya pretty fast....double tap to the head if it does that!!
-
CapitanG

- Regular Poster
- Posts: 410
- Joined: Mon Dec 15, 2003 5:32 pm
- Location: My mountain hideout
- Contact:
I know how much this topic has already been discussed, but I use an ever-so-slightly different method from everyone here. Unless of course I missed something while I was reading, which wouldn't be a surprise.
Anyhow...
-Image first, then text. Merge all of the text to one layer and put it on top.
-Under the text but above the image, start using the ellipse tool to make circles around the text. Or boxes. Use several if you need.
-Once you have all of the text circled, use the pen tool to make the tails.
-Merge all of the circles/tails onto one layer, still below the text. Add the stroke and (optional) drop shadow via layer settings.
-At this point, you can do any amount of further tweaking with the eraser/pen/brush/etc.